0 Comments
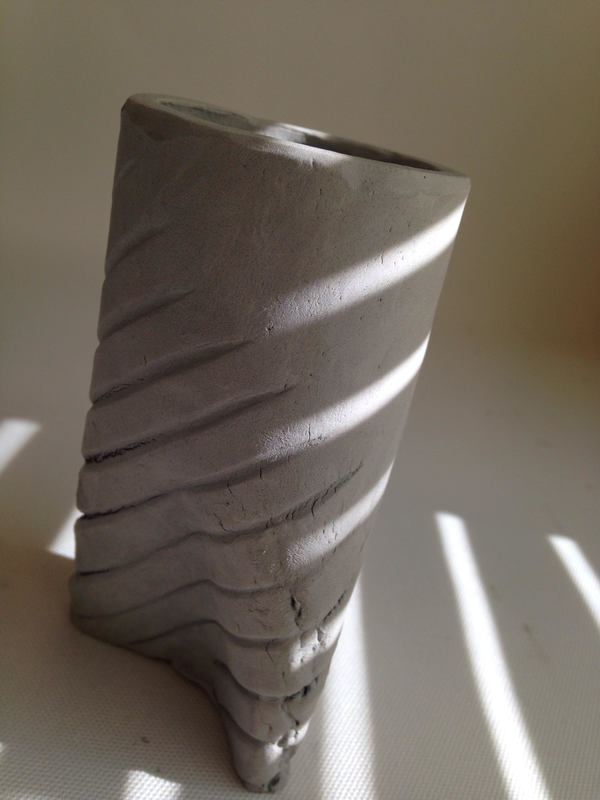
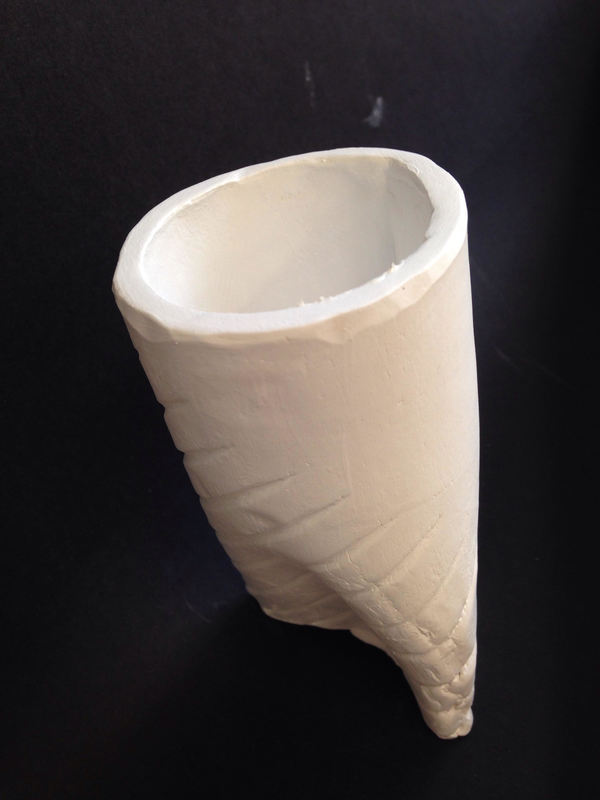
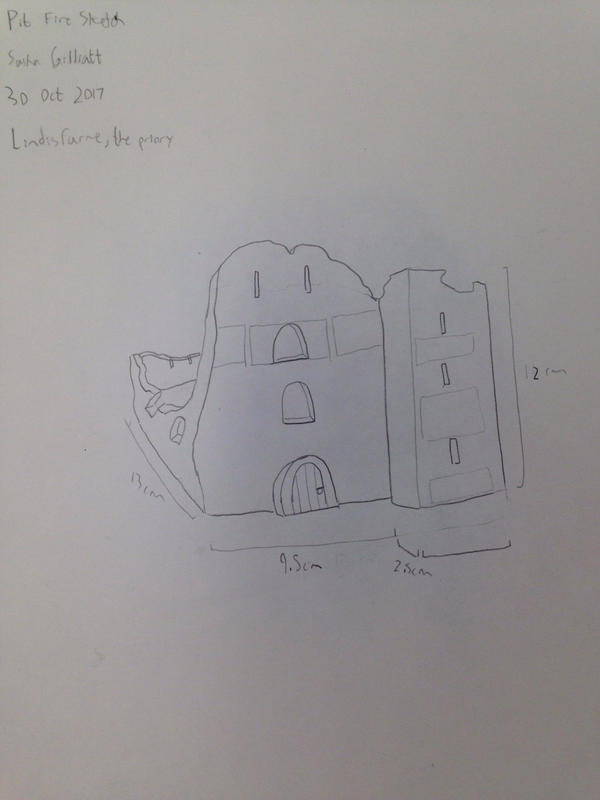
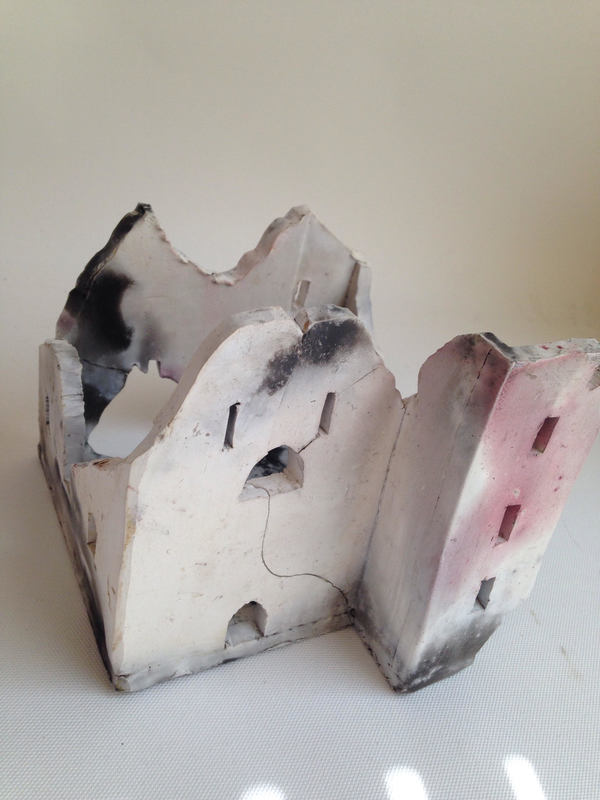
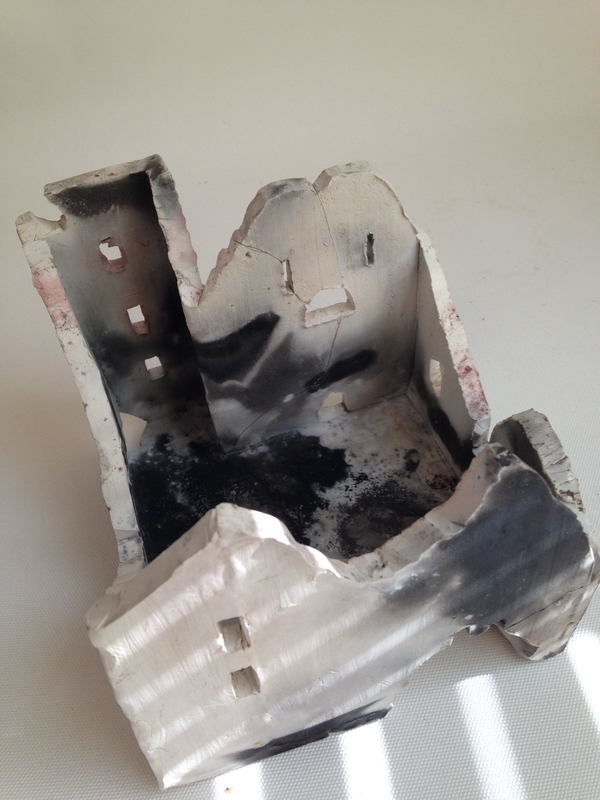
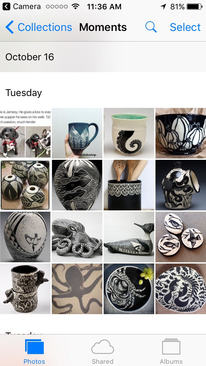
Pit-firing ceramics consists of making a piece out of clay, preparing it in the bisque kiln, surrounding it with various materials, wrapping it in aluminum foil (a saggar), and lighting it on fire. Different materials make different patterns and colors on the pottery, I used almost exclusively sticks to create the smoky, gray-black patches of a building set ablaze. I haven't the slightest clue where the red came from but I must say I'm rather fond. Once wrapped in foil, several pieces are placed in an open fire for a couple of hours, before being cooled and coated in a sealing layer of wax. I got essentially what I was going for, a ruined building that shows the wear of being put to the torch. It doesn't perfectly match Lindesfarne, the English priory destroyed with the beginning of the Viking Golden Age, but it's close enough that I can enjoy it as a pseudo-inside joke. The only things I would change is integrating some more red since what was accidentally applied went well, putting more effort into making it look like smoke rose from the windows, better connecting the pieces, and perhaps filing off some of the top ridges, since now they're prone to collecting fine particles.
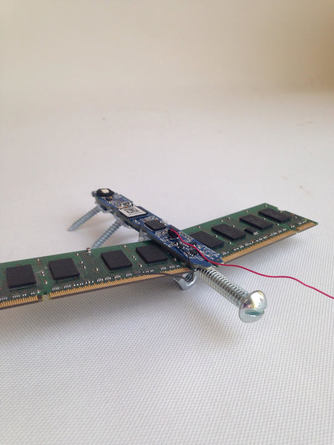
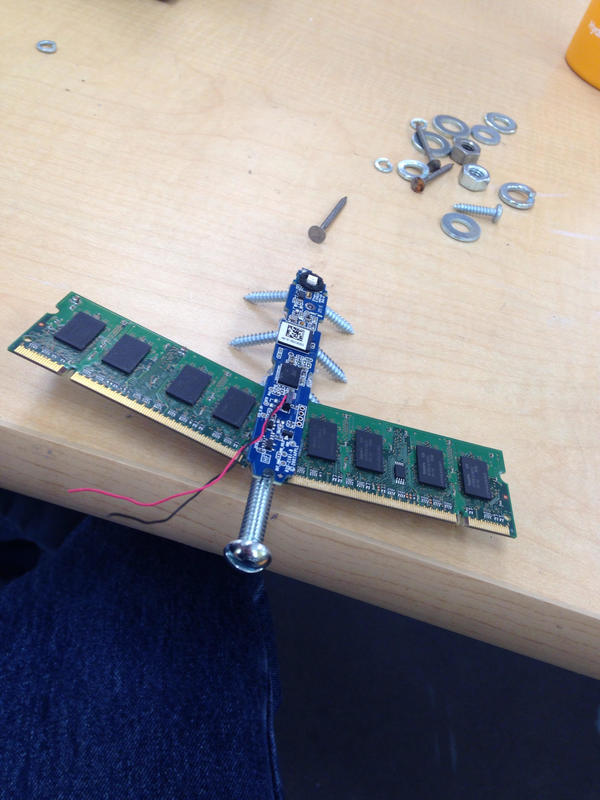
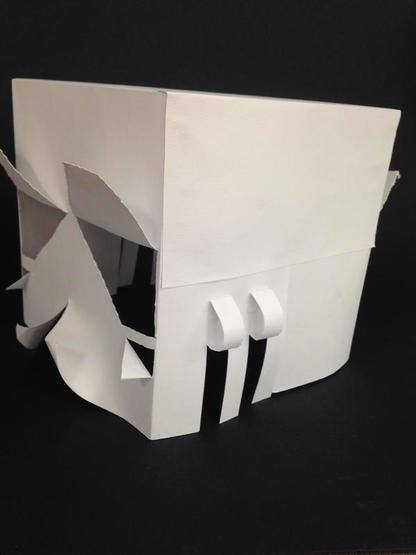
Paper mache consists of creating a base out of a supporting material, creating a solution of water and flour, and wrapping the base in layers and layers of paper. A smooth, white layer is added on top and paint is applied after sanding. In an ideal case, one stops before step one and instead finds a menagerie of interesting parts, glues them together, and claims creative ambition after a week of removing one's own hair with one's hands attempting to find a design for a bunch of random computer and construction materials.
My piece came together very well once I had the idea, the wings came together perfectly and the boards connected with the pieces very well. The majority of my difficulties came from planning. My brain doesn't do well with repurposing objects, especially in regards towards making art out of them, so the vast majority of my time was spent brainstorming. The next problem was making all six feet sit on the same level. The in progress picture is the one on the right, they look similar but the picture on the left is about an hour later due to the sheer difficulty of manipulating the screws until they let the insect lay flat. My other difficulty was in balancing the front, since it's top heavy. I initially tried gluing a nut to the head screw with hot glue, but only stronger stuff would do. That was essentially the last step, and wasn't too terribly difficult.
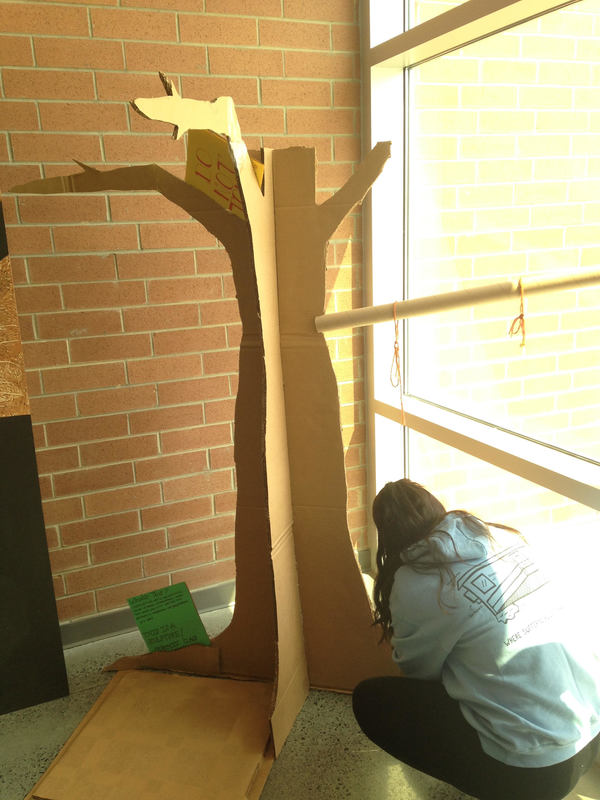
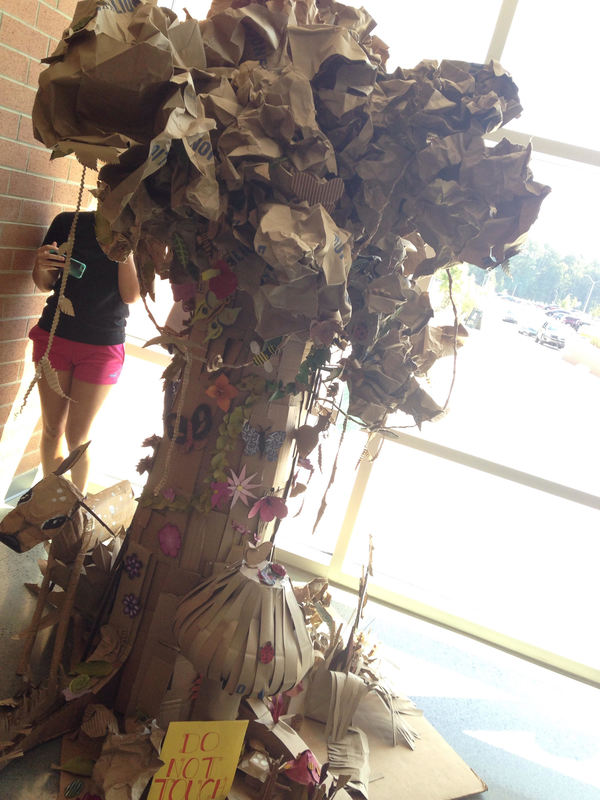
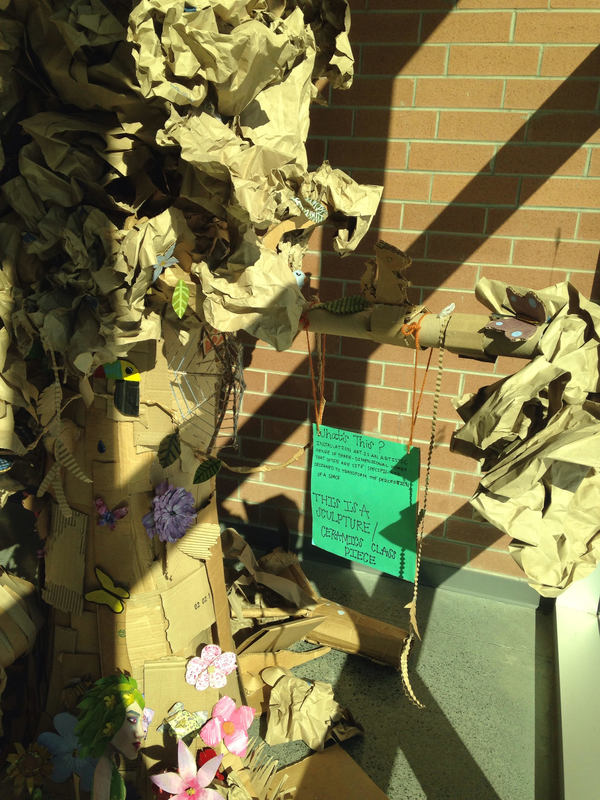
The purpose of an art installation is to transform a space. While a traditional painting or drawing simply exists on a wall, an installation serves to significantly change the room it's in.
I'm pleased with how it turned out. It looks more eclectic than I would have liked, what with the numerous flowers, insects, and mushrooms, but that seems like more of a function of the sheer number of people working on the tree. If it were only my project, I would've made it spookier (and therefor easier) by making the tree dead, thus so I don't have to make foliage. It would also be considerably simpler outwardly, without many of the conflicting decorations. I would've also had more internal structure, perhaps not using bark at all, substituting it with even more of those internal panels. Instead of having the two thick walls we ended up with, I would've likely added as many as six more to create a greater illusion of roundness. I designed the tree, cut out the boards out of their original box, cleaned up their edges, cut out one of the structural boards with an exacto knife, and did all of the measurement for the internal connections. My input consisted of the majority of work on the structure, but achieved little once it was completed. I'm terrible with names so I really don't know who did what. Boe helped me with the original design and cutting the pieces and everyone else helped with cutting out the major pieces. Most of the group went with Jatyra at one point to figure out how the electric saws worked and cut the other structural board's central slit. It went well.
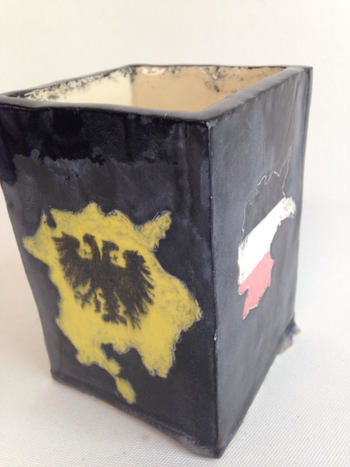
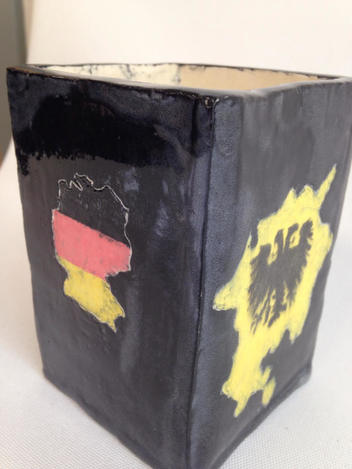
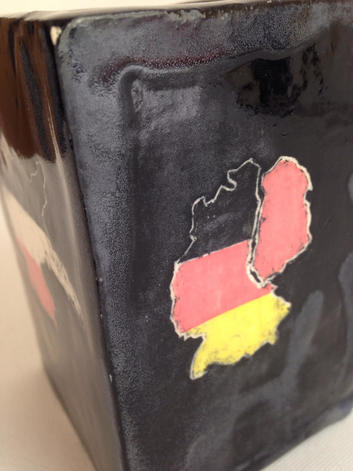
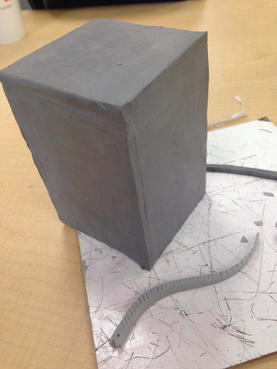
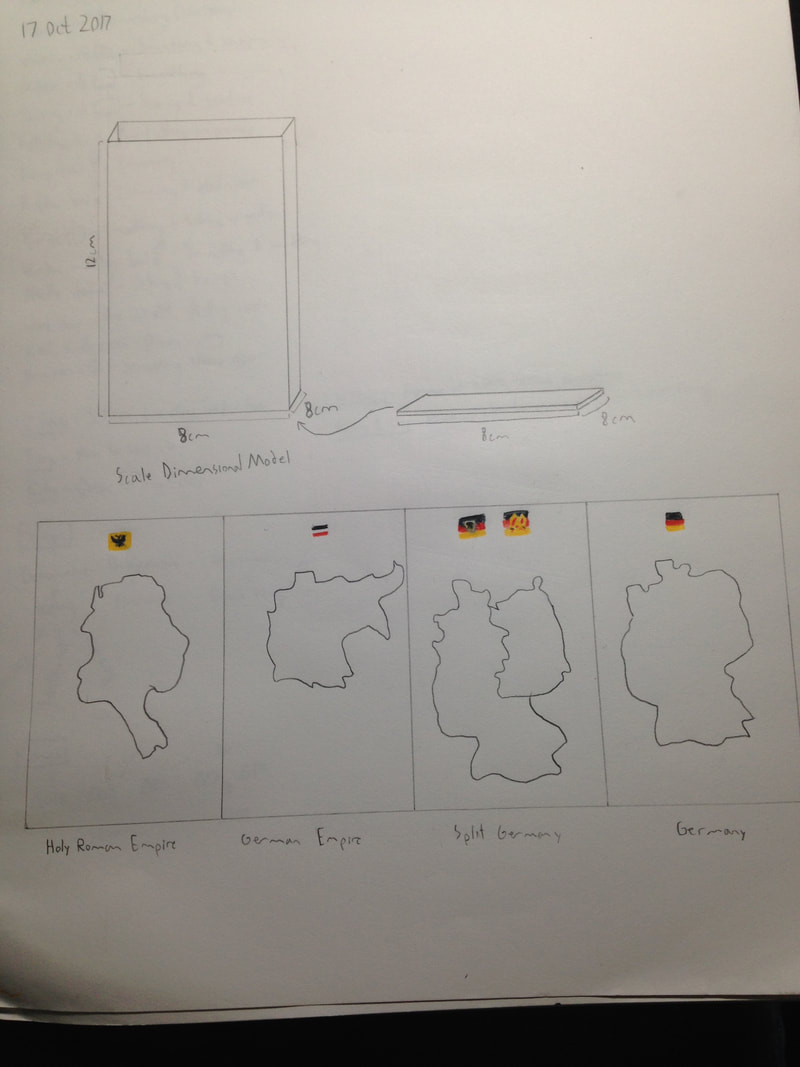
I was inspired to make this four-paneled sgraffito piece after reading into German history, particularly after watching a video following German states through the ages, from the handful of Germanic tribes in Roman times to the Central European monolith it is today. The four states chosen were those I found most interesting with borders I could define. They are far from an exhaustive list.
To make the panels, I carved a chunk of clay out from the block before taking out my repressed rage on the ball to remove the bubbles. After that, I flattened out the ball before taking it to my table and cutting out four 8cm x 12cm rectangles and discarding the excess. I then smoothed the pieces with the metal petal and scored & slipped the edges before assembling them into a box. Then, after being forcibly reminded that I need a bottom for my creation, I carved out another square, scored & slipped, and attached it to the bottom of the four panels. That is where I am now.
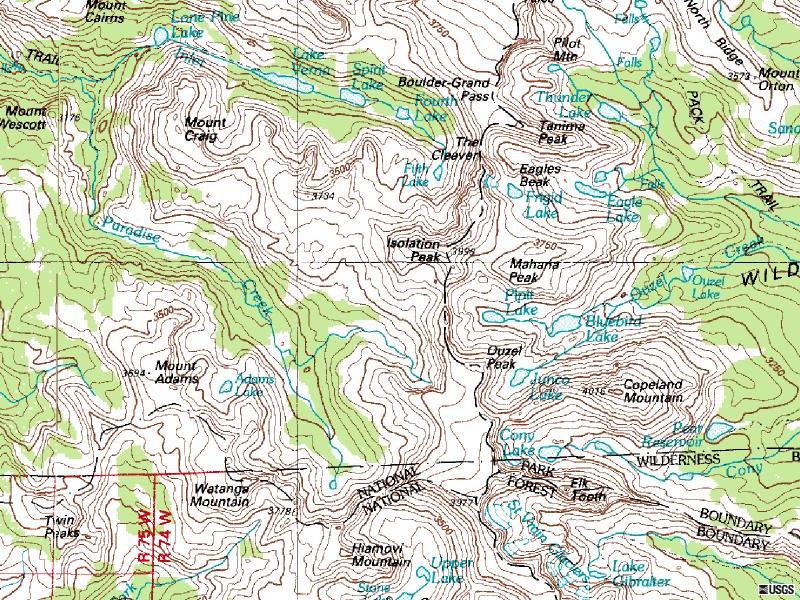
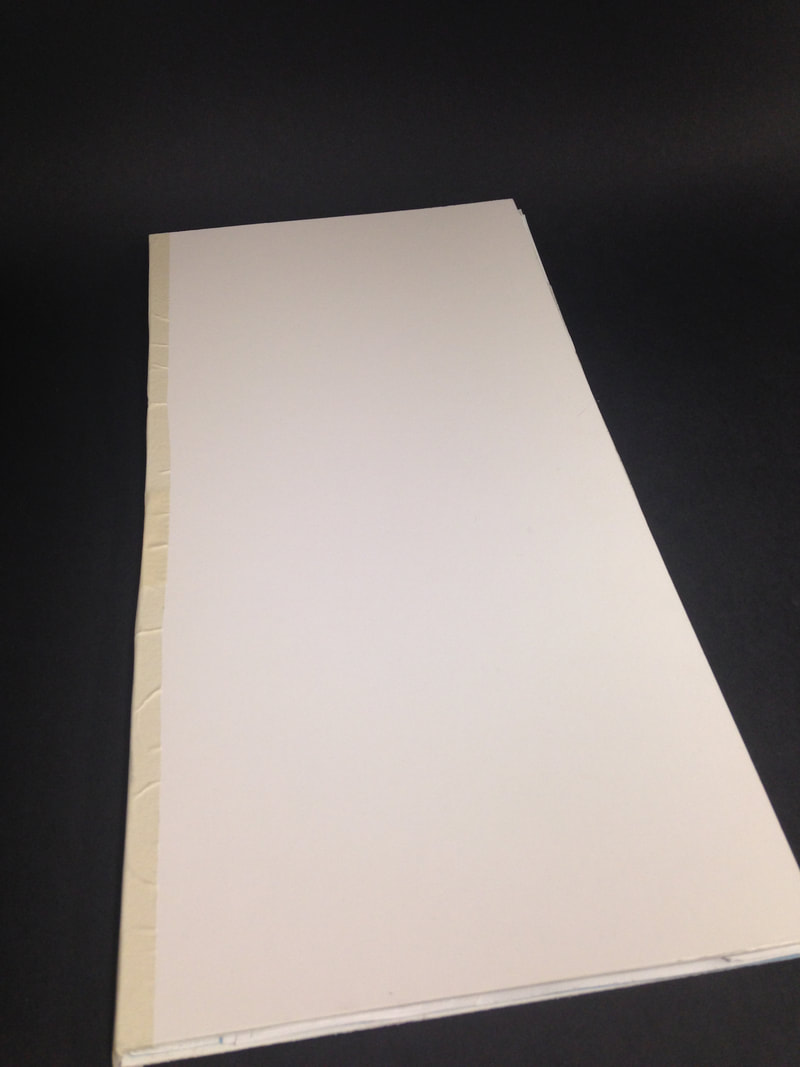
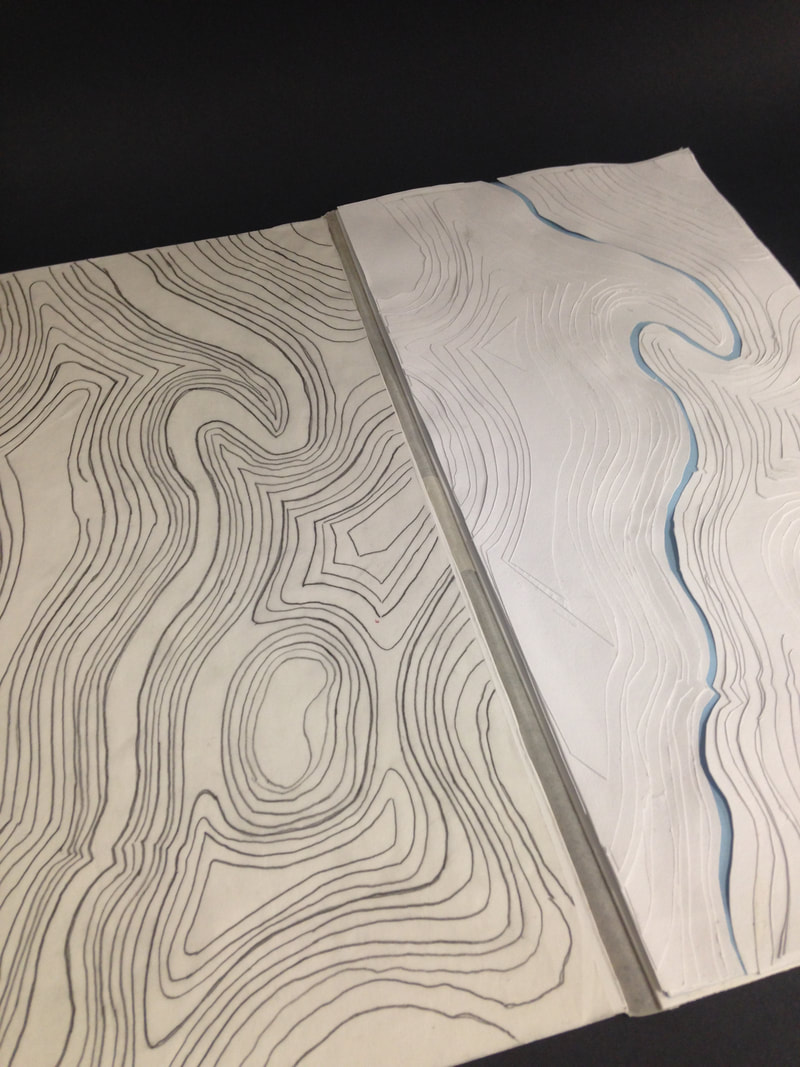
This piece progressed linearly in that an equal amount of progress was made for an equal amount of time. The beginning took a little longer as I decided where I wanted the central river to flow, but after that, the project was simply a matter of drawing a new line slightly outside the old lines, and cutting anew. Each layer, of which there are as many as fifteen, was constructed by drawing a line on the trace paper before retracing the line on one of several sheets of white paper. This was then exacto'd out and glued to the previous layer with Elmer's glue on a toothpick. Once all the layers were finished, the trace paper was sprayed with a sealant and a glue, and it was attached to a piece of foam board with the paper sculpture itself. It was then "bound" with a length of masking tape, appearing like a book of sorts. The most difficult part of this project was spraying the trace paper with a product to prevent the graphite rubbing off and attaching the trace paper to the foam board. Creating the spine out of masking tape was also rather difficult, but it was brief and not terribly complex so I wouldn't count it. Overall it wasn't very difficult, it just required time and patience. Infuriatingly enough, what I found most successful about the project was not what I was actually building, but the lined trace paper that I was using to construct it. I do like the actual paper construction, but at least to me, the paper opposite it is the more visually appealing. 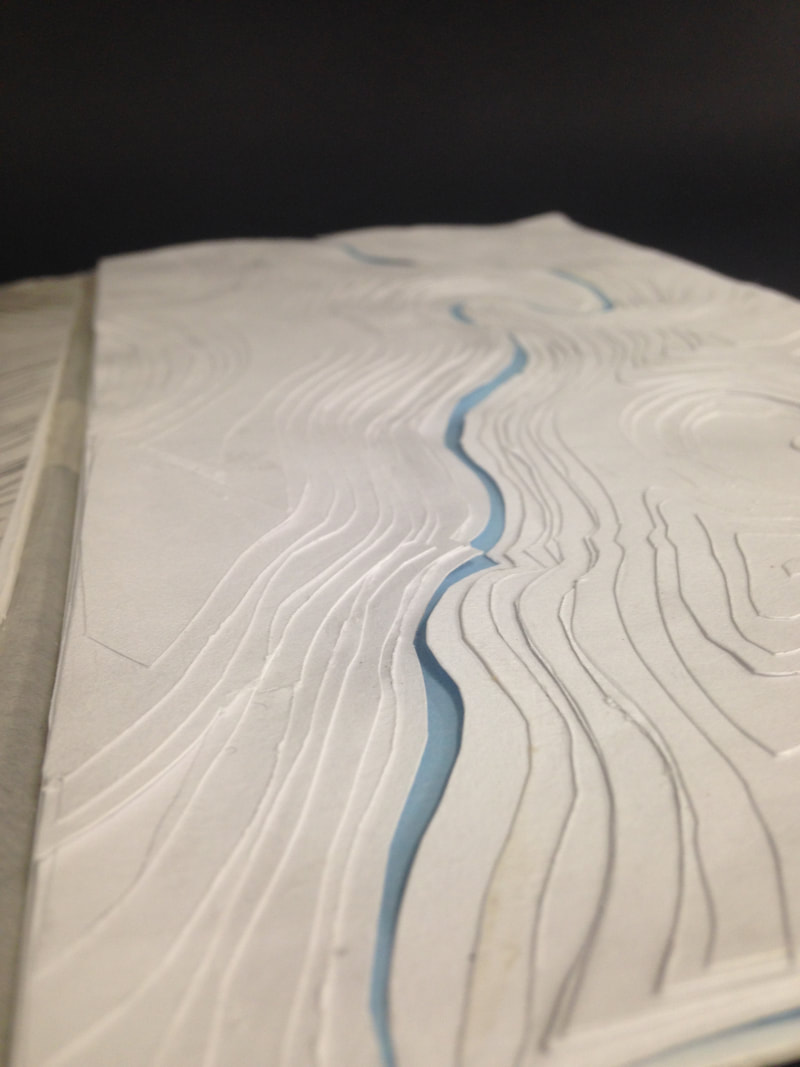
|